Recording studios, especially the ones in Berlin are essential for creating high-quality music, podcasts, and other audio content. However, the acoustic environment in a recording studio can greatly affect the final product and the working progress itself. Poor acoustic can lead to unwanted echo, reverberation, and other unwanted sounds that can detract from the overall quality of the recording. In this article, we will discuss some tips for improving the acoustic in a recording studio.
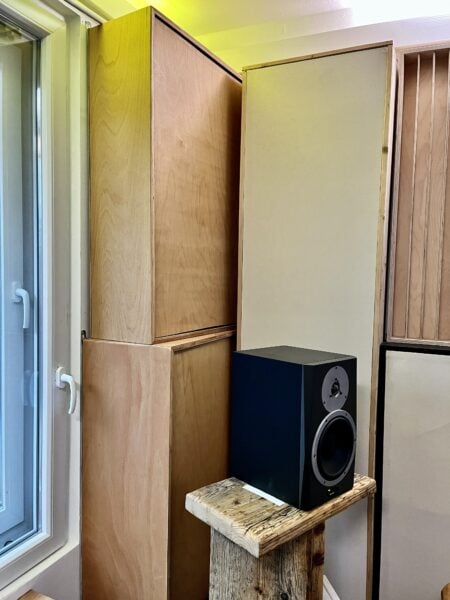
Acoustic panels and bass traps are specially designed to absorb sound and reduce reverberation. These panels can be placed on walls, ceilings, and floors to reduce echo and improve the overall sound quality in the studio. They come in a variety of materials, such as fiberglass, rock wool, and foam, which are all effective at absorbing sound.
In addition to acoustic panels and bass traps, there are other materials that can be used to improve the acoustic in a recording studio. For example, heavy curtains, carpets, and furniture can all absorb sound, reducing echo and reverberation. Additionally, using soft materials, such as foam or carpet, on the walls and floor can help to absorb sound and improve the overall acoustic environment in the studio.
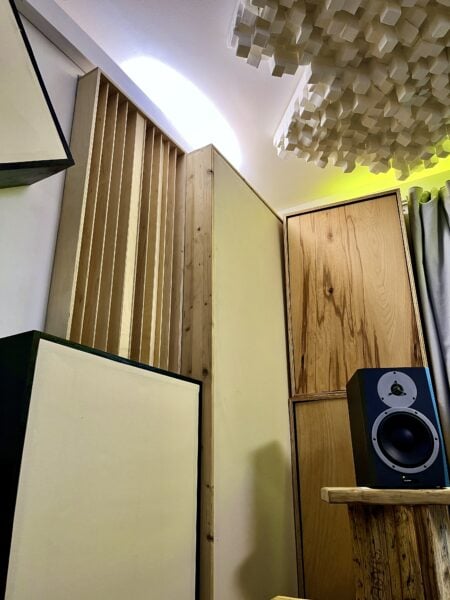
Properly positioning your equipment can also help to improve the acoustic in a recording studio. For example, placing your speakers and other equipment right in the room can help to reduce the erasures from certain frequencies in the listening position. The listener and the monitor boxes together form an isosceles triangle. This is the sweet spot. The right position for the speakers depends on the size of the speakers. Try experimenting with the distance to the wall and the corners and see how the bass frequencies altering in the sweet spot.

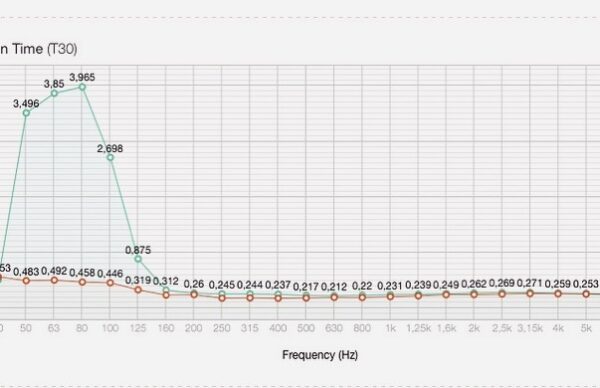
A sound meter can be used to measure the sound levels in your recording studio. This will give you an idea of where the problem areas are and help you to identify areas that need improvement. Once you have identified the problem areas, you can then make adjustments to your acoustic treatment, equipment positioning, and other factors to improve the overall sound quality in your studio. The following image shows the reverberation time before (green) and after (red) treatment.